
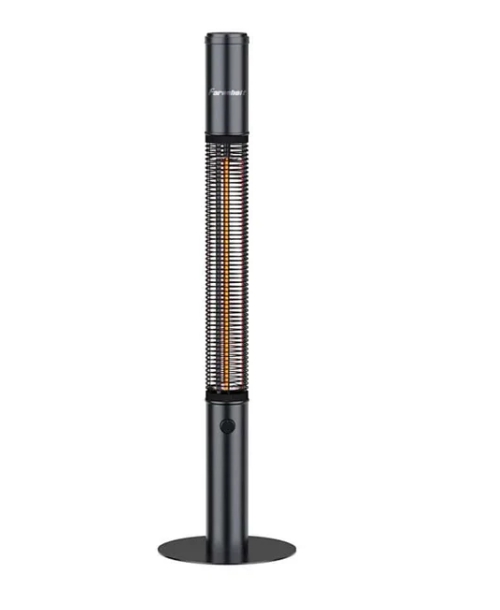
Keeping Your Bathroom Infrared Heaters Safe and Dry
Putting an infrared heater in a bathroom is basically like inviting a lightning storm into a steam room. You’ve got constant moisture and thick fog everywhere. If your insulation isn’t spot on, you’re looking at ground faults or, worse, the whole thing just frying itself. The real battle happens in two places: the housing and the terminal seals. The struggle with steam Here’s the thing about water vapor: it’s sneaky. It finds its way into standard housings through capillary action—basically sucking itself in through the tiniest gaps. To stop that, we lean on IP-rated enclosures and sealed quartz tubes. We want that live current nowhere near the outer chassis. I always suggest high-temperature silicone for the gaskets. Why? Because cheap seals shrink or crack the second the lamp gets hot, and that’s when the trouble starts. Getting the electricity right We use reinforced insulation layers to keep things stable. The heating element has to be dead-center in the quartz tube. If it shifts even a little, you get a hot spot that can eat right through the tube wall. For the connectors, we go with ceramic end-caps. Ceramics are great because they don’t conduct electricity and they won’t warp when things get scorching. And please,use a dedicated ground wiretied straight to the metal frame. It’s your safety net. If a leak happens, you want the breaker to trip instantly rather than turning the heater shell into a live wire. The trade-off Now, there’s a catch. When you make something totally waterproof, you usually lose a bit of heat. A thick glass or polycarbonate shield is great for protecting the guts of the machine, but it bounces some of those infrared waves back inside. You might need to bump up the wattage a bit to get that same “toasty” feeling on your skin. Just remember to check your seals every six months. Steam and harsh bathroom cleaners eventually eat through everything. Once the seal goes, the insulation is gone. It’s as simple as that.